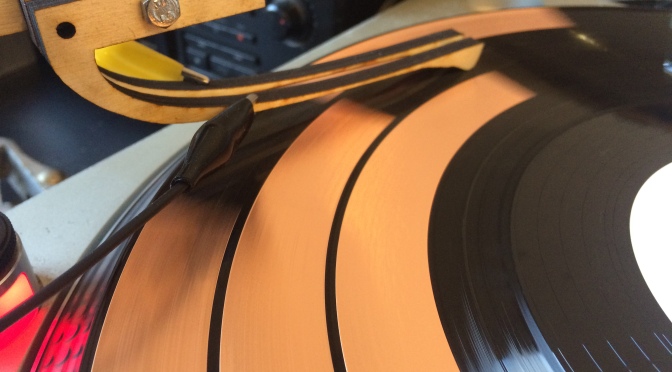
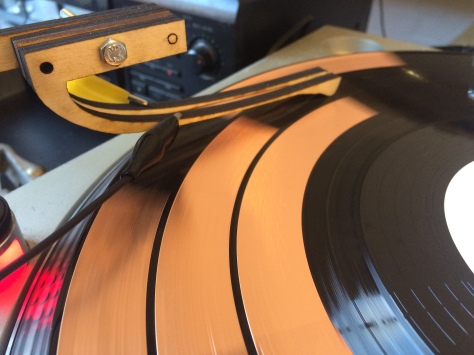
I finally made something on the machines! Firstly I use the vinyl cutter plotter to cut out adhesive copper for the sequencer record. A first attempt came out a bit wonky – the second one worked well but I made a couple of errors in planning so the rhythms weren’t quite as I planned.
Next I worked on making a stylus or electrical contact for the disk. This has been a bit of a problem with the solenoid trigger I used before – it’s hard to get enough pressure without slowing down the record. I realised I’d need some sort of spring mechanism so went about trying some made with the laser cutter. Below are some photos of the process.
Here’s a quick test of the second stylus design, with the record:
[youtube http://www.youtube.com/watch?v=5t9I1q71GvY](I realised after making this that, aside from my errors in copying my designs onto the computer, I’d been thinking about the sequence in the wrong order. I’d imagined it starting at twelve o’clock and moving round clockwise, when in fact it’s the opposite. As the record turns clockwise, the stylus (or cursor, on a DAW or step sequencer) is effectively moving anti-clockwise. As the stylus is generally on the near side of the turntable to me, it’s also at the ‘bottom’ of the clock. Sequences should be flipped and reversed from how I was imagining them.)
Finally I tested a couple of odder designs, above, before sticking with the last one. I made a ‘tone arm’ for this one too – I’ll likely refine the design and make some sort of stand or frame for them too.


you could also use a reflection sensor to get them rhythms. Then no drag on the record…. Tom
LikeLike
Thanks Tom!
LikeLike